There is a time and place for everything and the time for contouring is always.
I’ve been contouring these little cheekbones since I was in high school, I just had no idea that is what it was called back then! But let’s be very clear, there are different levels of contouring and I honestly don’t think that a day-to-day contour look should take anymore time than you normal blush routine!
I think the reason contouring can be so intimidating is we see all these crazy videos on Youtube of using knives and tape and 14 different foundations and oils and it just looks quite frankly, messy. Now when the artists are finished they look like goddesses, but those videos are intimidating! And that’s fine because they are artists.
Try to think of Youtubers like the designers at fashion week. You take inspiration to implement in your wardrobe but you don’t actually walk down the street with bleached eyebrows and a fishnet top. But if you do, more power to you girlfriend! 😉
You don’t have to get all that invested into contouring to reap the benefits!
So what are the benefits?
Before I say what contouring does, I want to be clear of what it doesn’t do. It doesn’t minimize flaws, because you don’t have any! You’re a human and you were made perfectly just the way you are!
But we all have features we are drawn to a little bit more, and that’s what contouring does! It can minimize or emphasize the parts on our face we want to highlight! Contouring is fun because it says, “Hey girl, hey! Look at these cheekbones! I love these cheekbones and you should love yours too!”
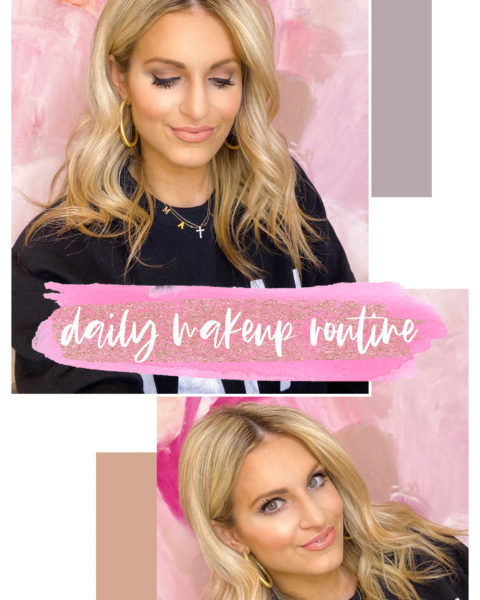
Different face shapes can contour differently, but essentially we all do the same steps! I hope this little step-by-step tutorial helps this makeup trend not feel too intimidating! As it can be as natural as you would like and take as quickly as you need!

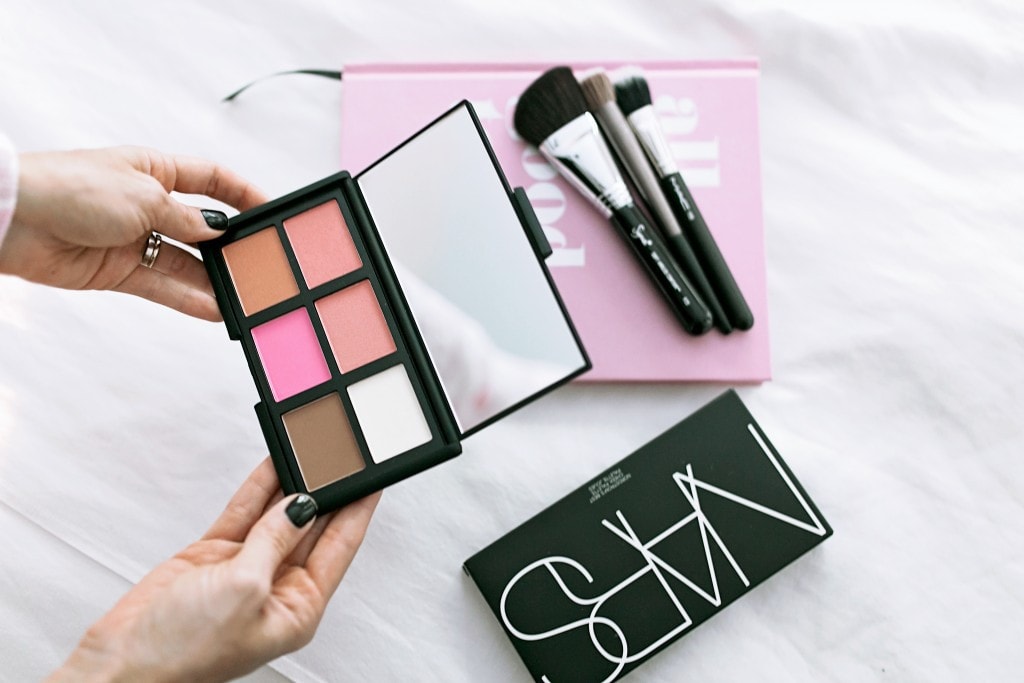
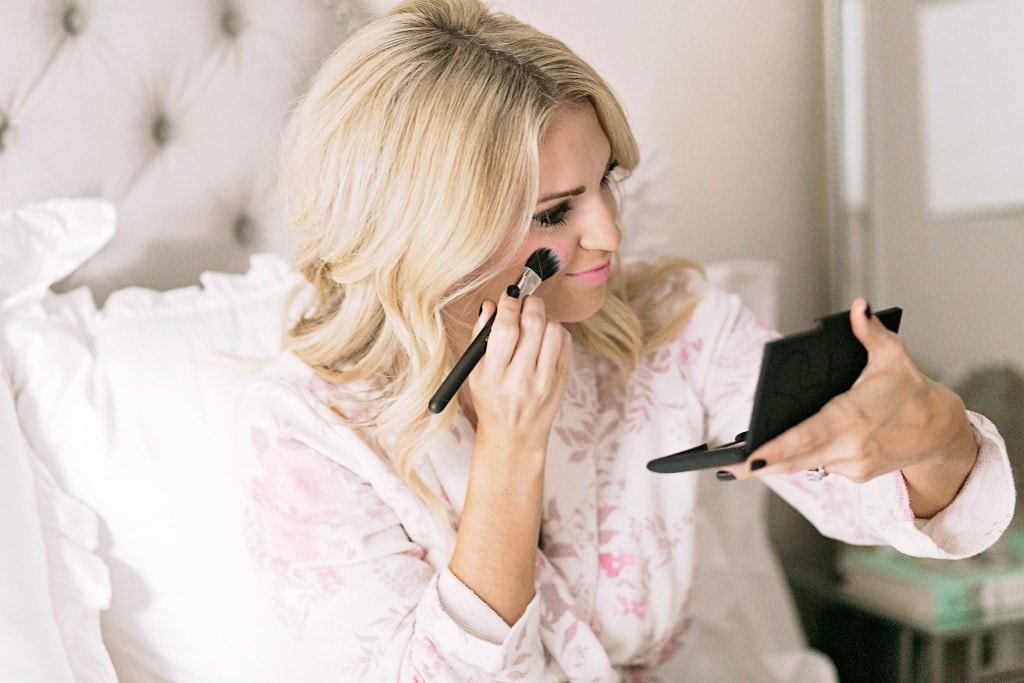
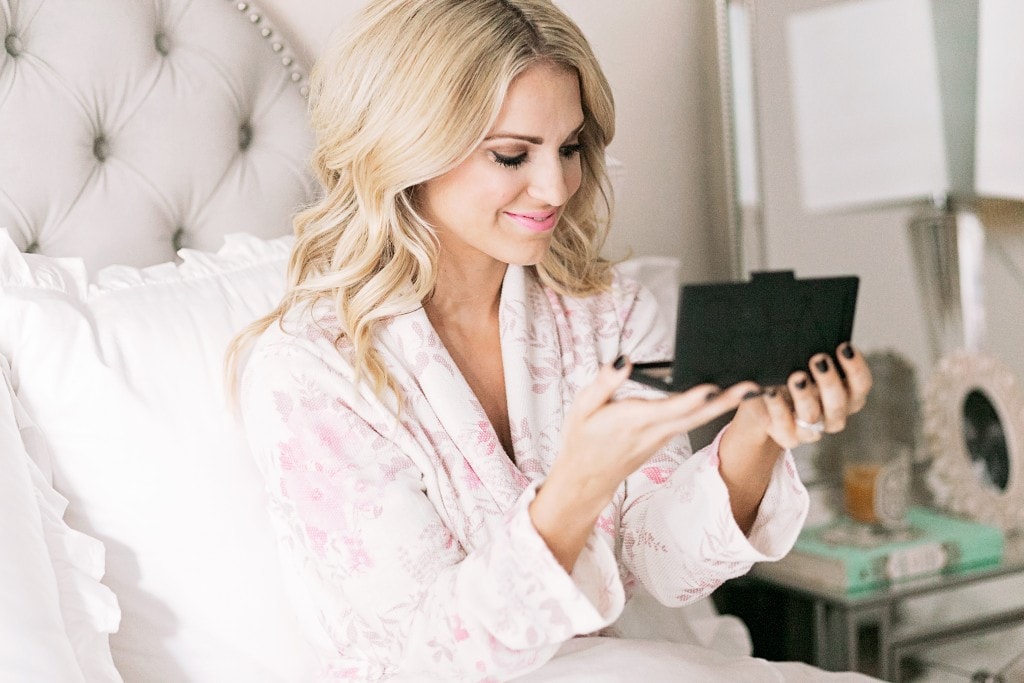
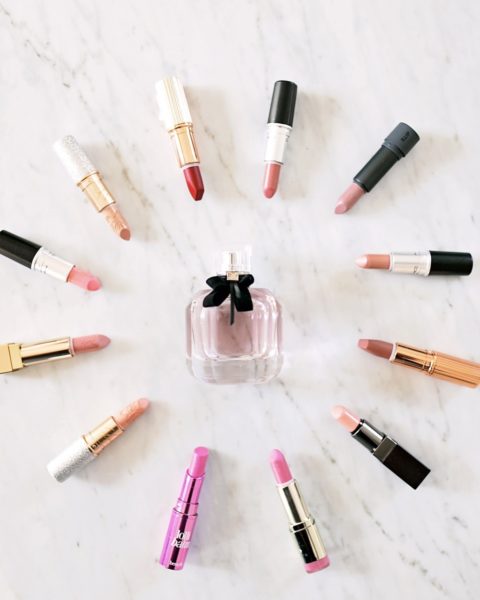
I typically contour right after I apply foundation but for this tutorial I did my foundation and eye makeup, then contoured! First things first, you can go crazy buying different shades of bronzer, foundation, highlighter and blush. It’s one of the reasons this technique can be overwhelming. I picked up this Nars palette with the NSale and it has everything you need to contour, highlight and blush all in one! It’s also $65 and that’s nearly impossible to get those three products from designer brands for that price. The other reason I chose to do this tutorial with the Nars palette is because of how versatile it is. Nars blushes are known for looking amazing on every single skin tone!
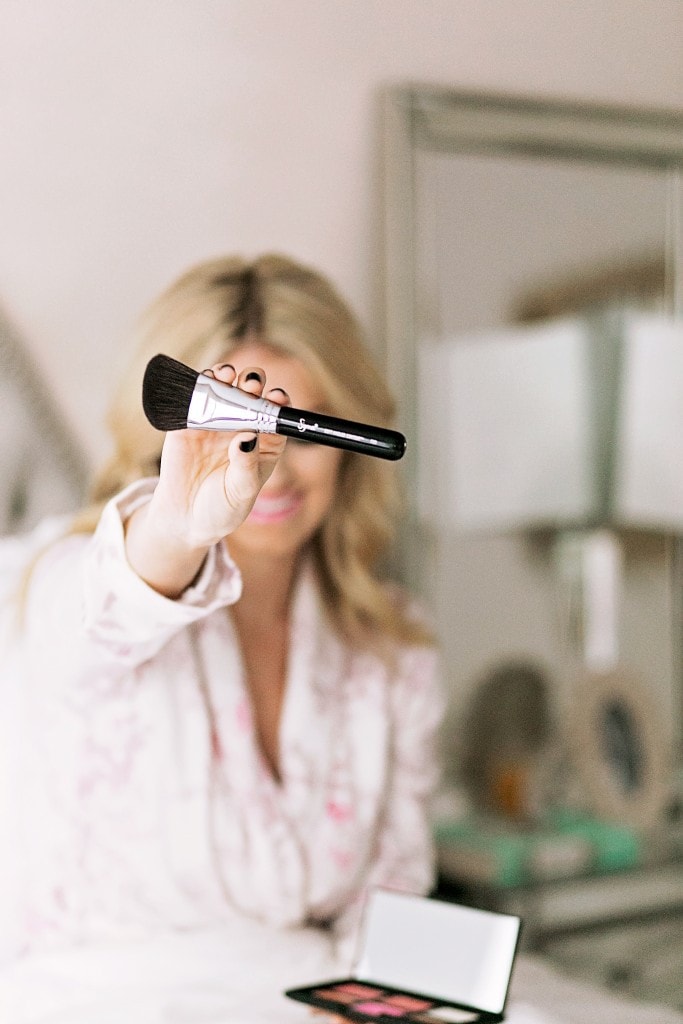
There are so many different contour brushes you can use, but I think the most important part is making sure your line is blended well. We already have to worry about our foundation blending, no need to walk around with a brown line on our cheekbones too! The Sigma F23 is made for a soft contour application and making sure your product is blended well! You can also use this if you just want to use bronzer for the day! 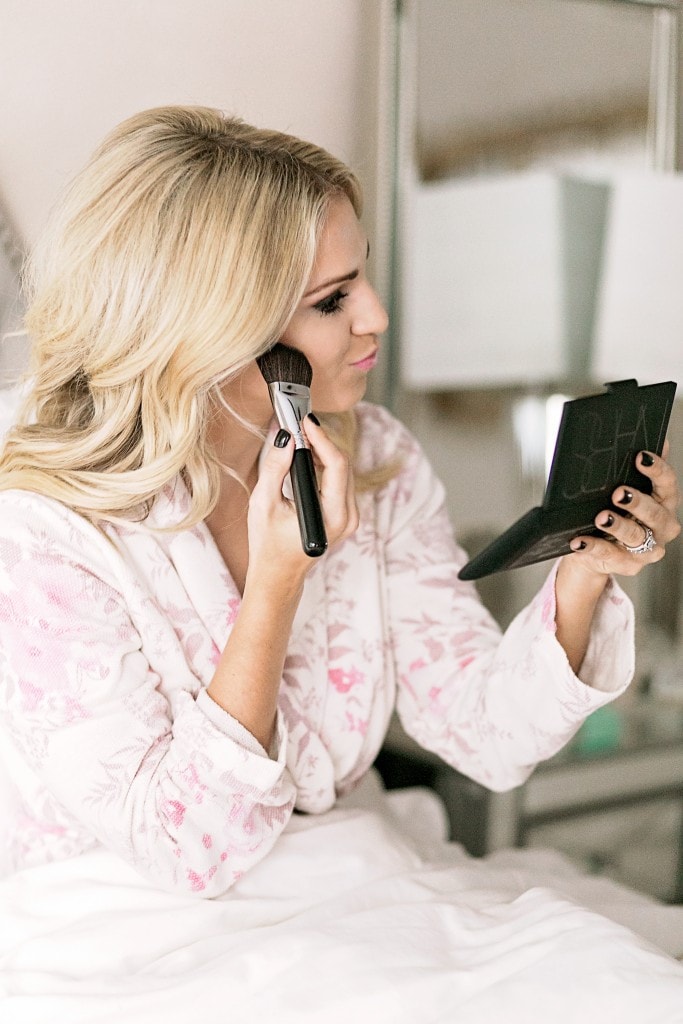
Dip it into the Nars Laguna shade on the palette [the only bronzer] and start right under your cheekbone. An easy way to know where to place your brush is to angle the brush right from the top of your ear to your cheek. You can see the natural contour your face structure has. 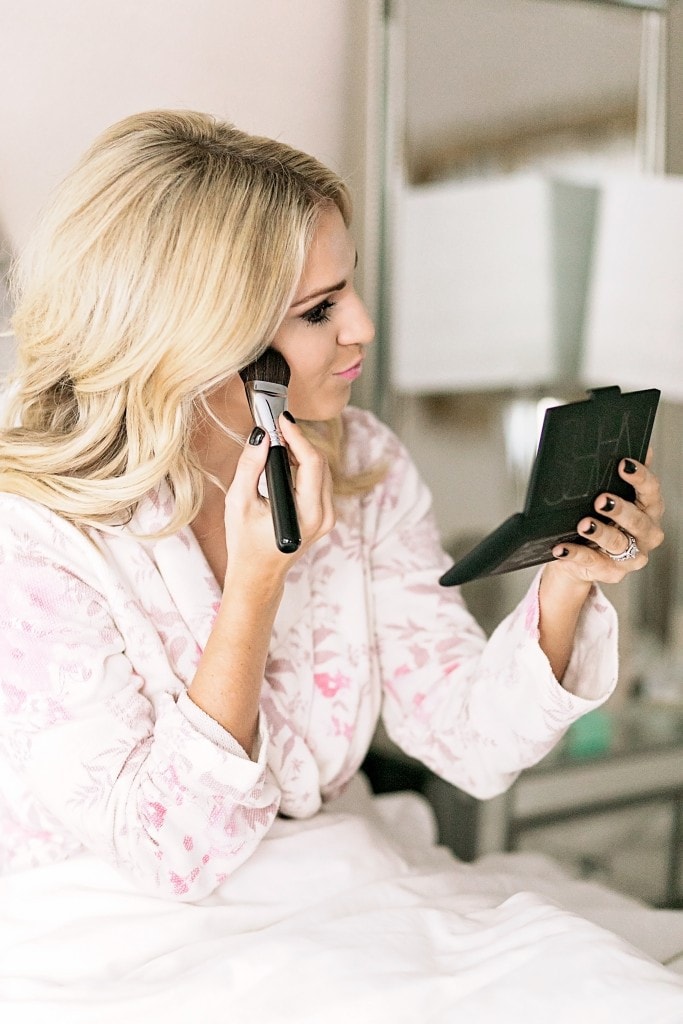
Softly blend your brush on the line and brush up! You don’t want to brush in a downward motion because that would pull your features down. I like to think of this motion as a curved line! I allow it to follow my cheekbone and not be too harsh and straight! 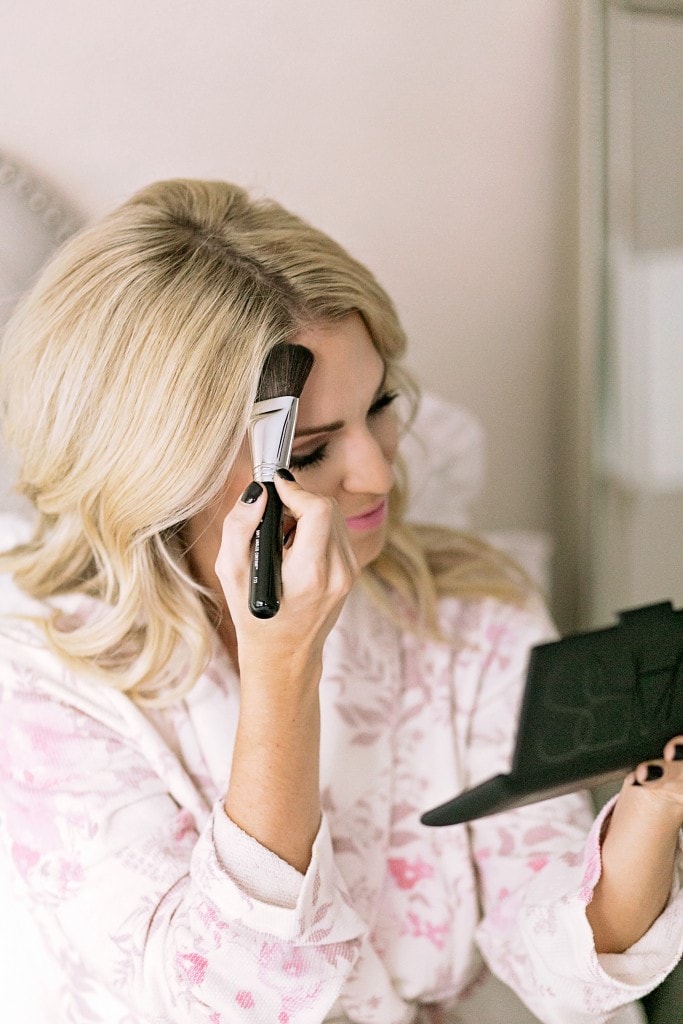
Then I do the top of my forehead and my jaw line! Essentially you’re making an “E” or number 3 on your face! With a curve around your forehead, your cheekbone and your jaw line! That’s the easiest way to know how to do it! 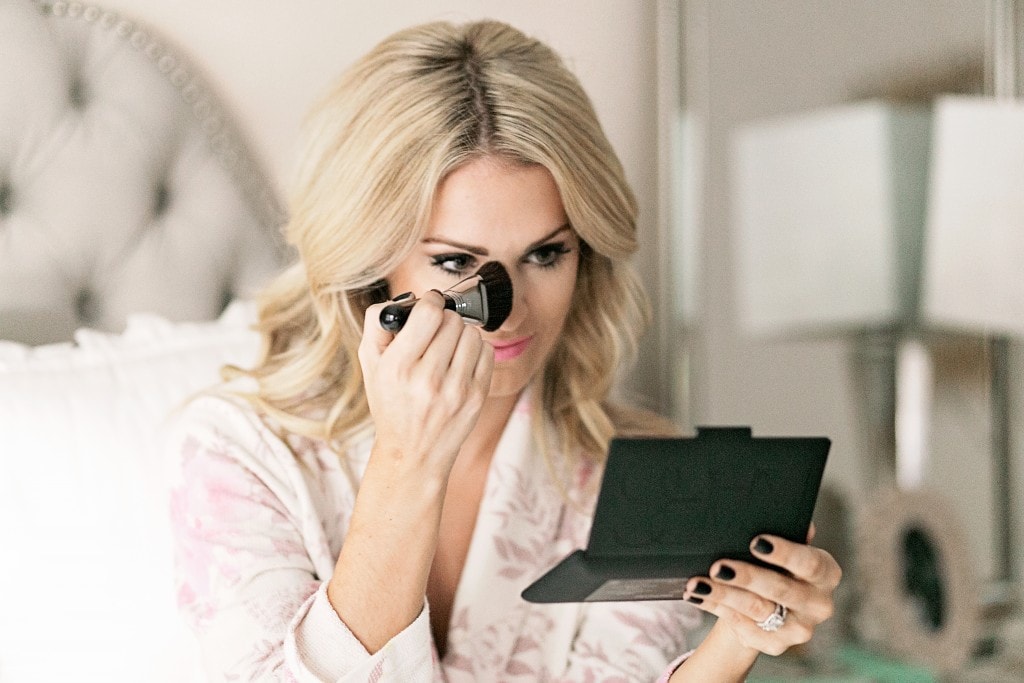
Then I contour my nose! Simply apply two soft lines on the side of the bridge of your nose! Leaving a strip of your nose in the middle untouched! 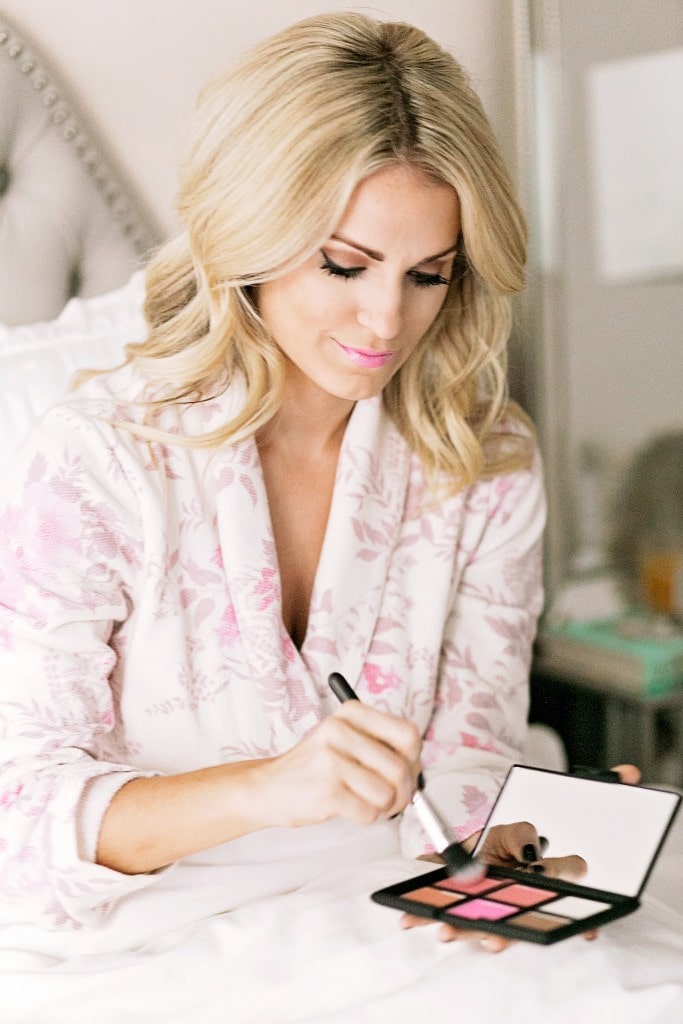
For blush with this palette I use the MAC 159 Duo Fibre Blush Brush. With palettes and contouring I like to use a smaller blush brush so I have more precise application and I’m getting the exact shade I want, as opposed to a big blush brush that dips into all the shades. 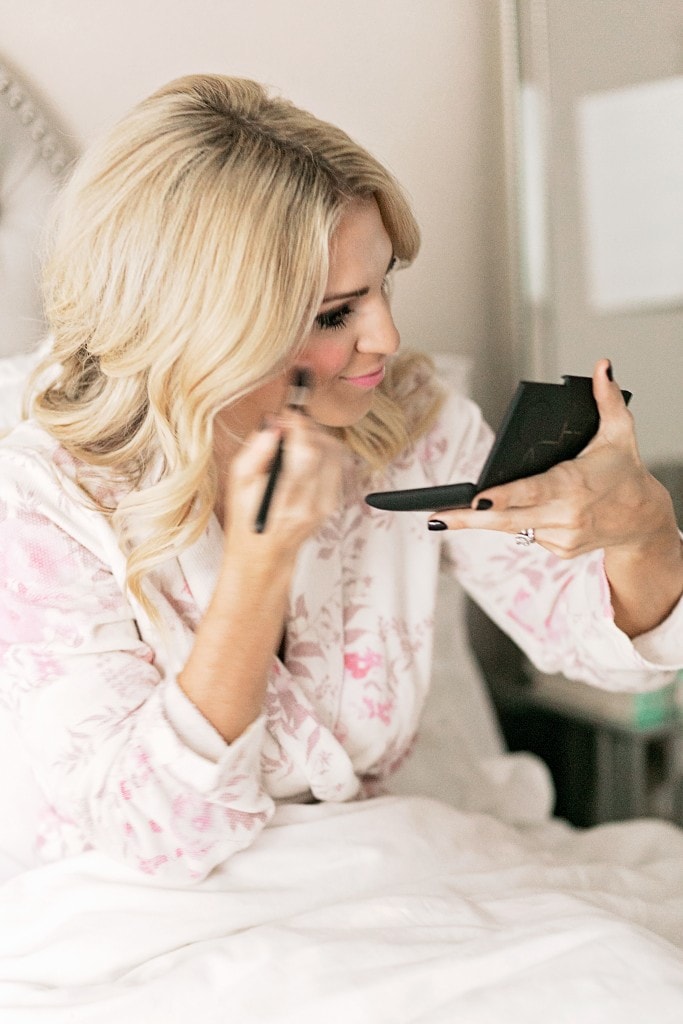
Apply directly to the apples of your cheeks! You don’t want to interfere with the contour line or right under your eye as you’ll highlight there!

Lastly, you get to highlight! This is my favorite part as it brightens up your entire face. I dip the Urban Decay Pro Diffusing Highlighter Brush into the highlight shade. I love this brush because it’s short and can really concentrate on the pigment and exactly where you want to apply! Highlighter draws so much attention it can make fine lines or blemishes appear larger than they are so you really want a precise brush so you aren’t dusting it all over your complexion.
You can apply wherever you prefer to have brightness, but typically you apply right above blush [under your eye and above tops of cheekbones], on the strip of your nose where you didn’t apply contour and above on your forehead! You can also apply it on your cupid’s bow [right above the curve of your top lip] and chin. 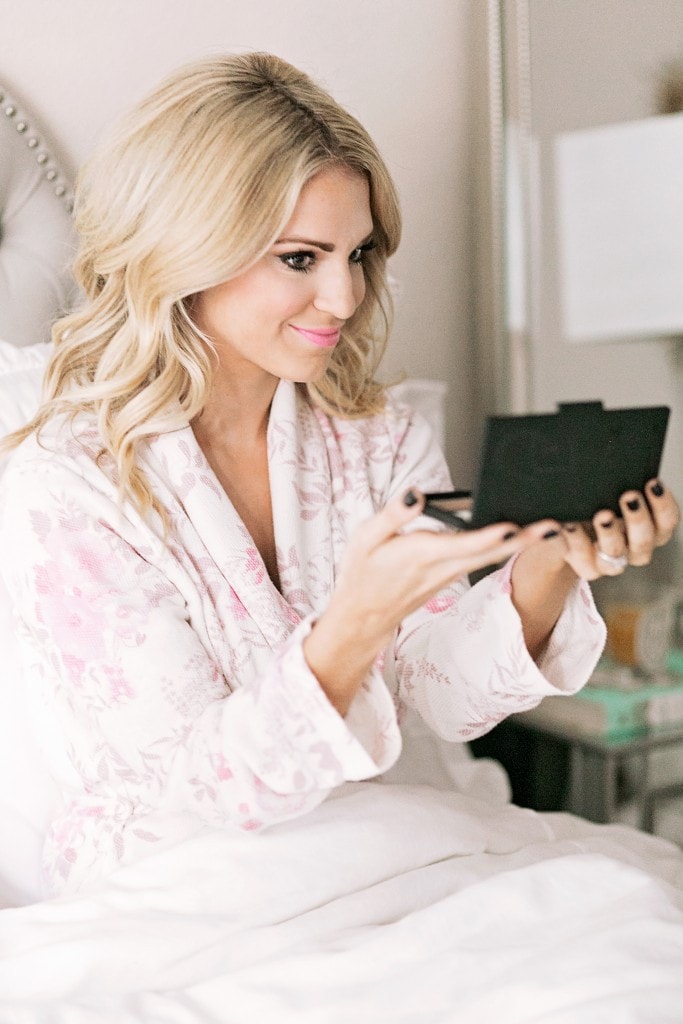
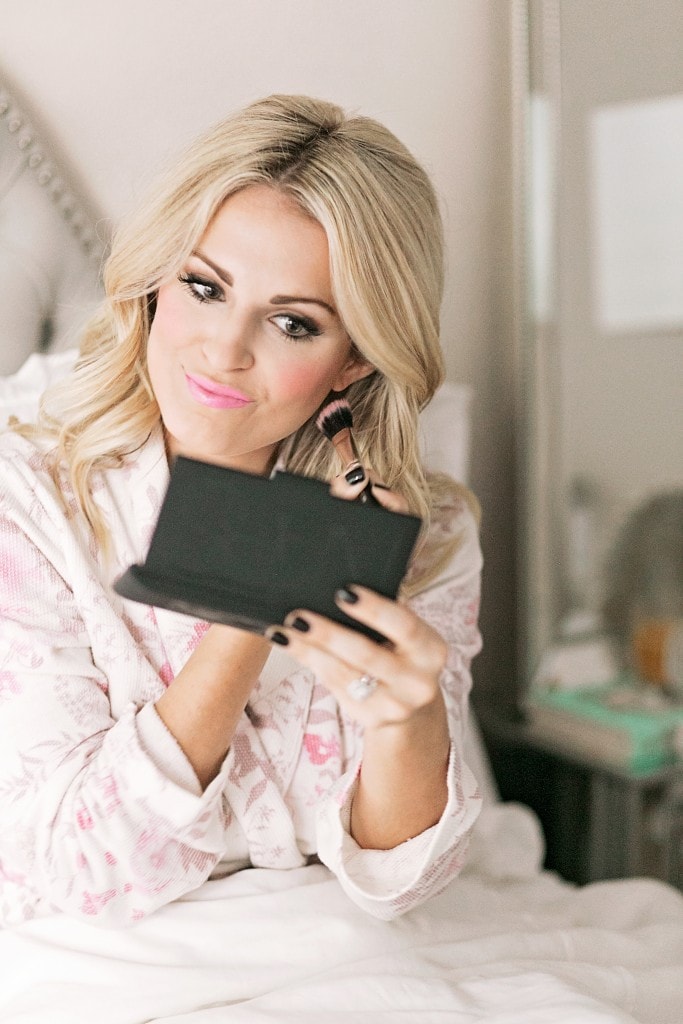
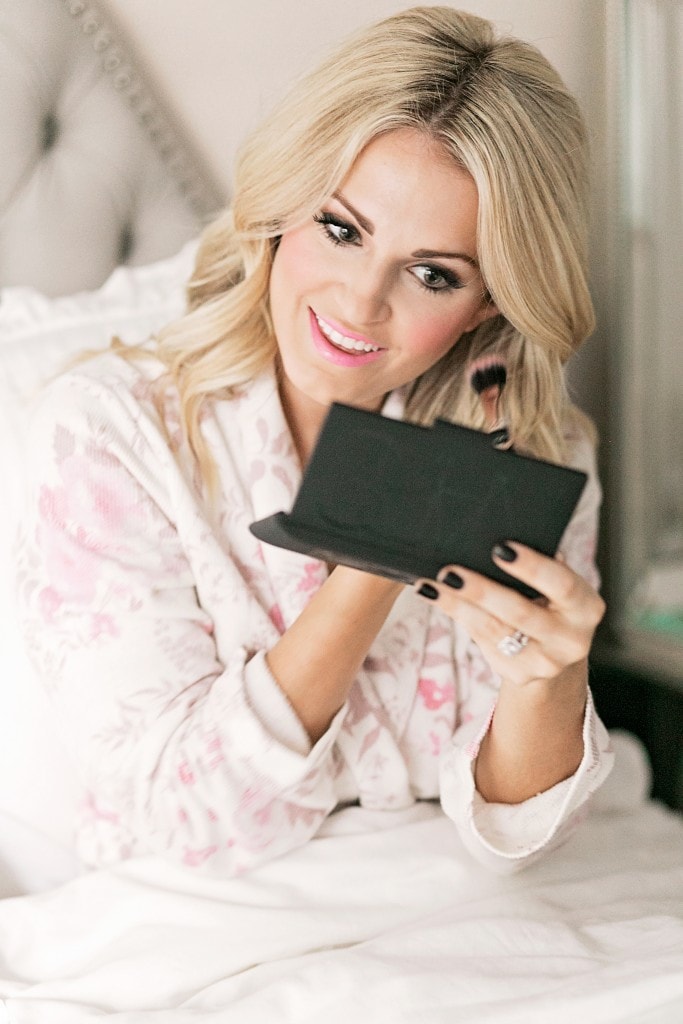
Then you’re finished! This is a really easy and natural contour look that doesn’t add too much time to your makeup routine.
What’s your favorite way to contour?!

Nars Palette: Nordstrom | Contour Brush: Sigma F23 | Blush Brush: MAC 159 | Highlight Brush: Urban Decay | Robe: Old, Similar


I love this!!! I saw it at the #NSale and wasn’t sure if I should pick it up. Now I know that I need to!!
Mel | http://www.thegossipdarling.com
SO CUTE! You just made contouring SO easy for me to apply + understand 🙂 thank you for this great post! Plus, what an amazing palette!!
http://www.toreystreasures.com
@toreystreasures
I just purchased the Sigma brush and Nars palette! I cannot wait to try them out! Thanks for the great post!
You look so pretty in this post Katey! I definitely need to start contouring more. I usually just do bronzer, but you have convinced me! What is your lip combo in this post?
Hannah
glamlifeliving.com
I LOVE that Sigma brush! Everyone needs it! And what lip color are you wearing? It’s gorgeous on you!
Hi Lauren!
Thank you so much!! It’s the one in my makeup tutorial post last week!
xoxo,
Katey
Thanks for the tutorial on this! You’re a beauty! Could I please get the color and brand of eyeshadow you’re wearing in these pictures of you?
Hi Shari!
Thank you so much!! It’s all the same as my makeup tutorial from last week! I hope that helps you!
xoxo,
Katey
Loved this tutorial! I’ve recently been playing around with contouring, and this helps so much!
xoxo,
Amy
http://www.styleandsequins.com
I love this Palette from NARS! Seriously my absolute favorite brand when buying makeup! <3
BlondieInTheCity.com
I’ve been so intimated from contouring but you make it look so simple- will most definitely be trying this! Thanks for sharing pretty girl!
xox Tess | Sequins are the New Black
Looks like such a great palette!!
XO Brittany
@brittanypillard
http://thecashmeregypsy.com
Hi!
I’ve really been trying to try “up” my makeup routine, but have been too nervous to try contouring. This tutorial was perfect, thank you for sharing!! I just ordered the NARS Palette and can’t wait to try it! In regards to brushes- is there a kit that you would recommend? Or is it best to get the three you have listed?
Thanks so much!
xoxo,
Julia
Hi Katey! Thanks so much for doing this! I just bought the Nars palette and am excited to try!
Is there any chance you would be willing to do a video tutorial? Even just over on Snapchat?
Thanks again!
Catherine
Here, Dam-Mikkelsen does away with the gratuitous steps to give us the most minimal guide to contouring. Thanks to Miss Fame, a more angular face is now actually easy to achieve.