Sweatshirt | Jeans |
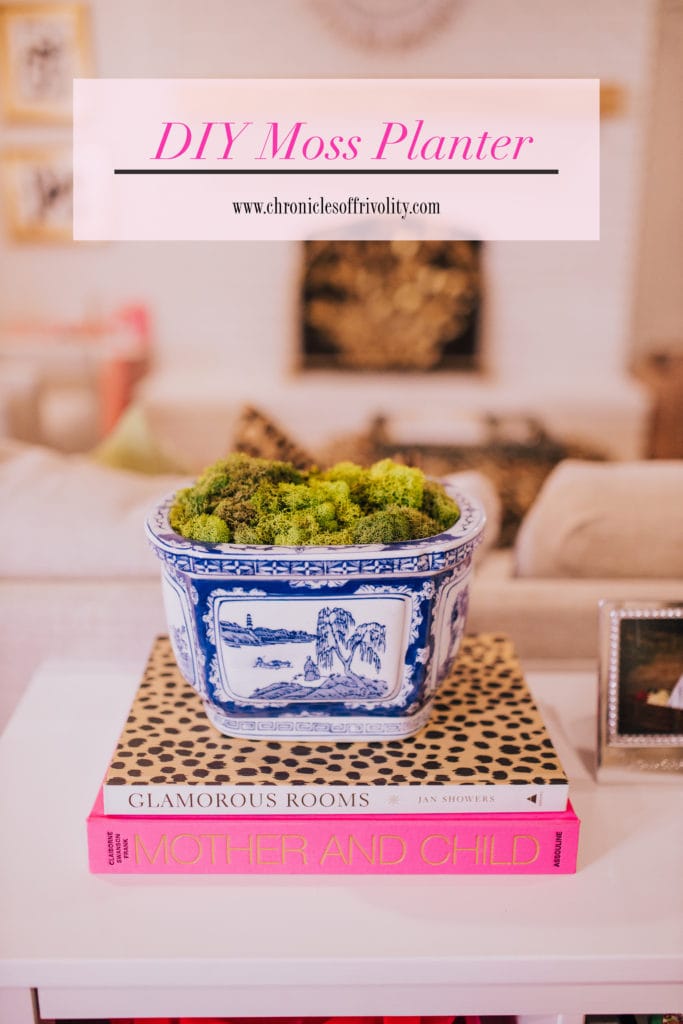
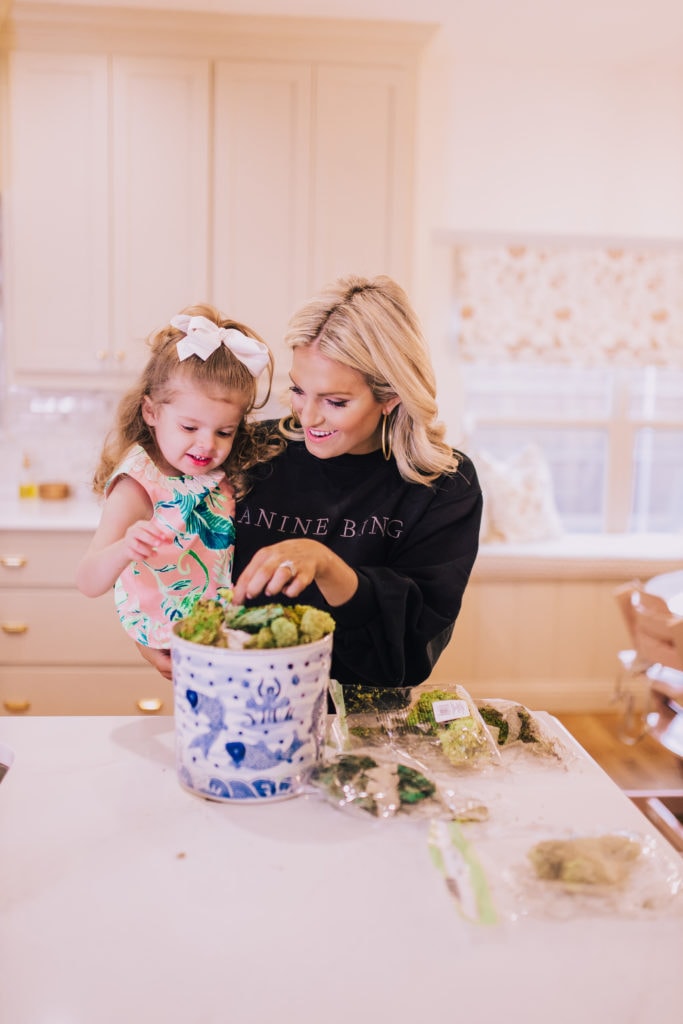
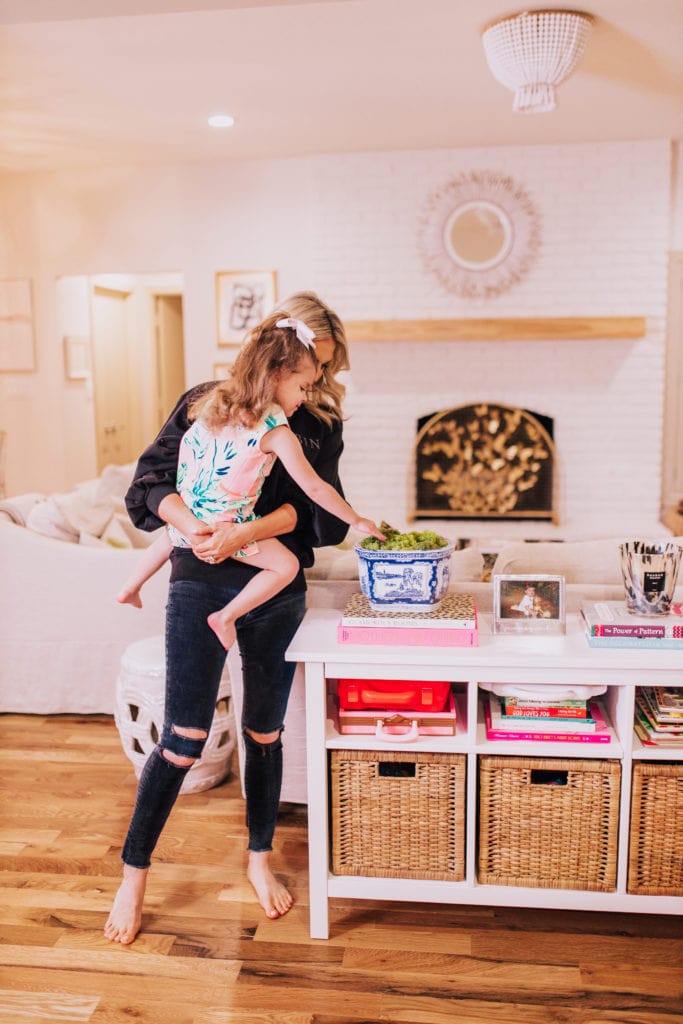
Good Morning, y’all! Today, I’m sharing one of my favorite little DIY crafts for adding a pop of green to your home. Moss planters {or faux arrangements in general} aren’t anything new, but I keep seeing moss gardens and cachepots or bowls all over Pinterest as of late. After a trip to Michaels a few months ago, I started to make these moss planters with all my blue and white Homegoods finds. You could make these during your next girls’ night or make it as a lovely housewarming gift. Add an orchid in the middle or keep it simple as I do, you can get really creative with how you dress these. I’ll also have a video on my Instagram today if a video helps you visualize this better, so be sure to check there.
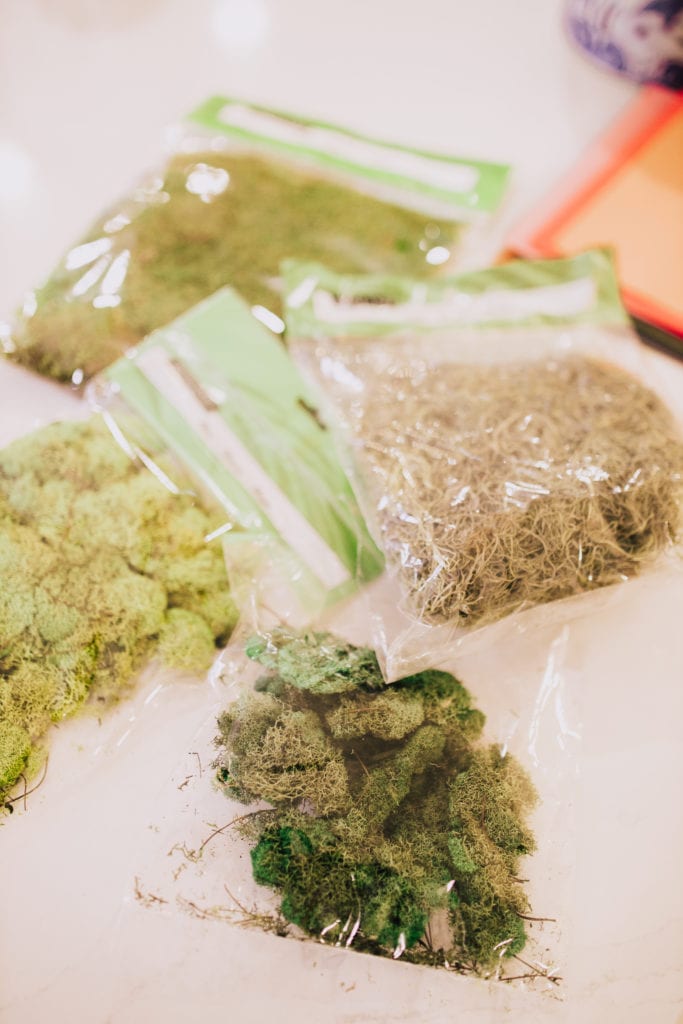
First up, you’ll grab some faux moss. You can purchase this at your local craft store where the faux arrangements and flower sare. There is spanish moss, sheet moss, mood moss, reindeer moss {my favorite!}, and plenty more! Amazon has a great selection as well. I think a mix of three types with different texture and green hues is perfect.
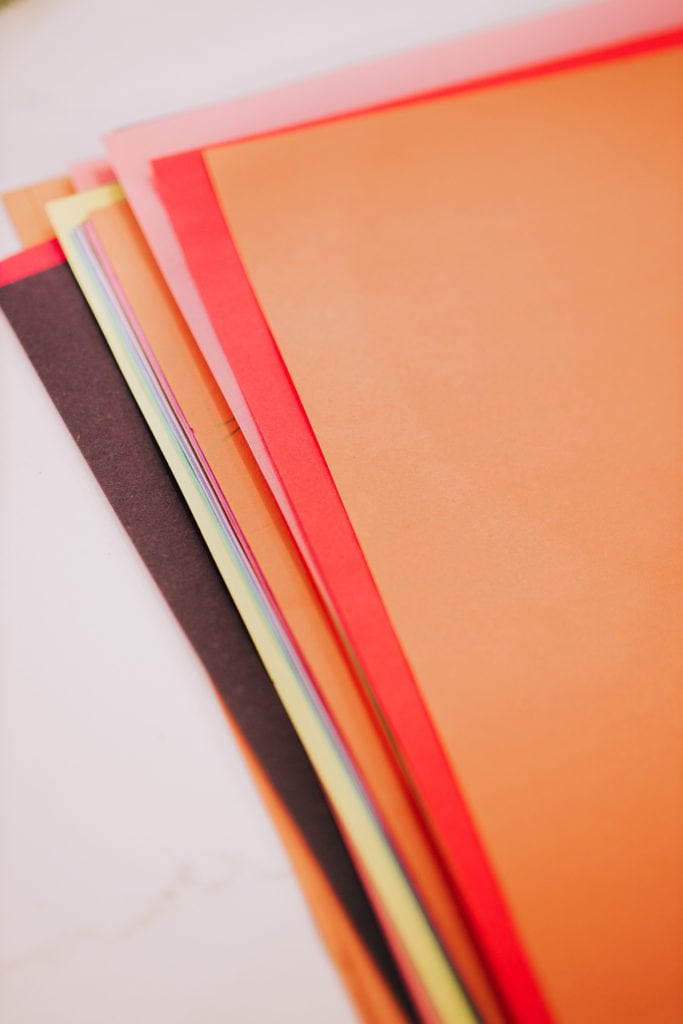
Next, you’re going to need a filler. Because you aren’t adding in live orchids or plants, you don’t need a potting mix. You can use newspaper, construction paper, grocery bags, anything you can wad up to create shape in the pot. I used construction paper during this tutorial because Maxi was at my feet doing a craft with it while I was shooting, so I just had it on hand!
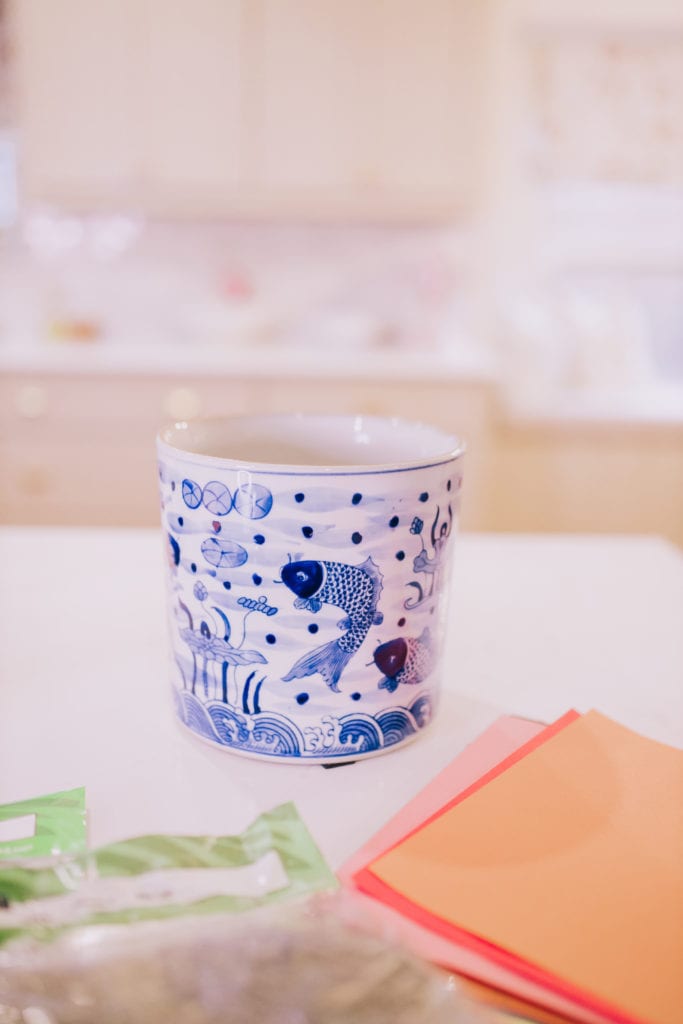

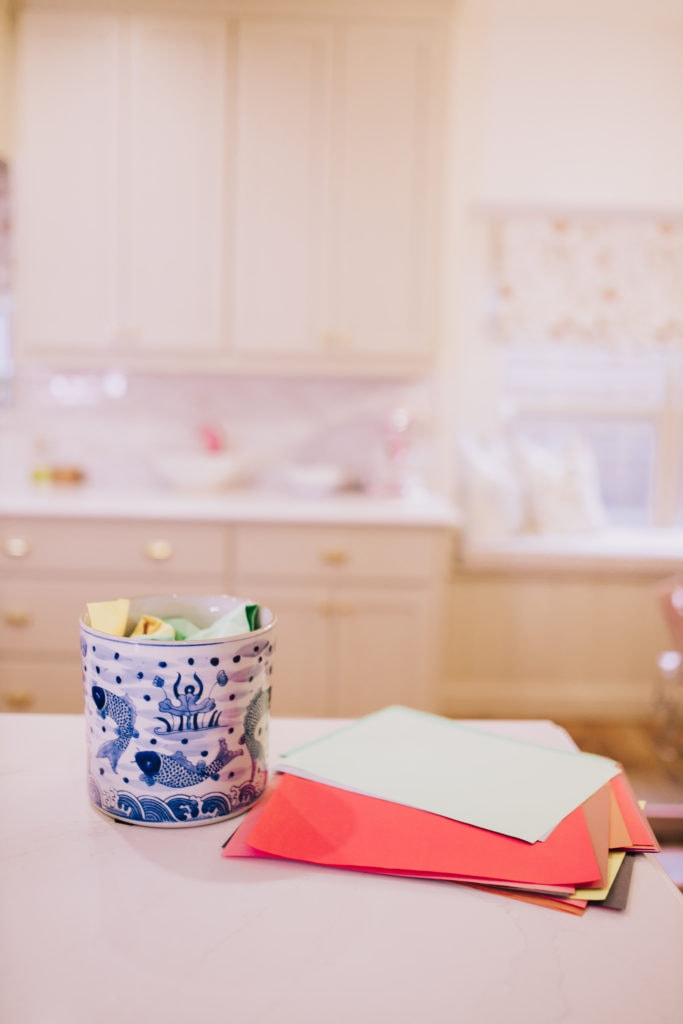
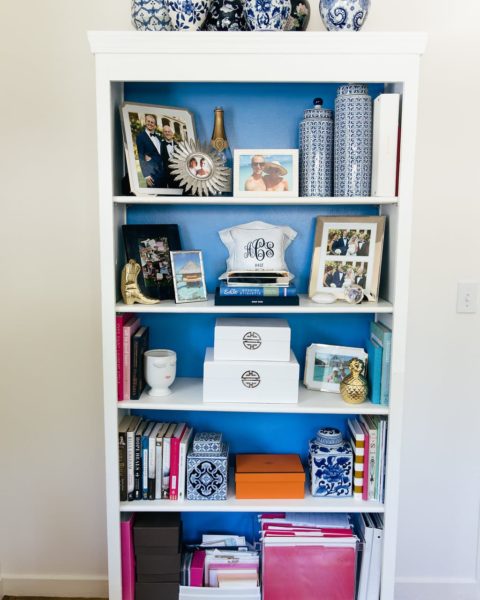
For your blue and white planters or bowls, you don’t need to spend a ton of money. I have a variety in my home! $10 bowls from Homegoods or more expensive vintage ones online. But to make this craft budget-friendly, you seriously don’t need to spend a ton. Homegoods, T J Maxx has plenty of blue and white for $15. I also love to go with my mom to antique malls and search for the best blue and white piece we can find. I linked a few above so you can get an idea of what to search for in-store, but you certainly don’t have to spend that much.
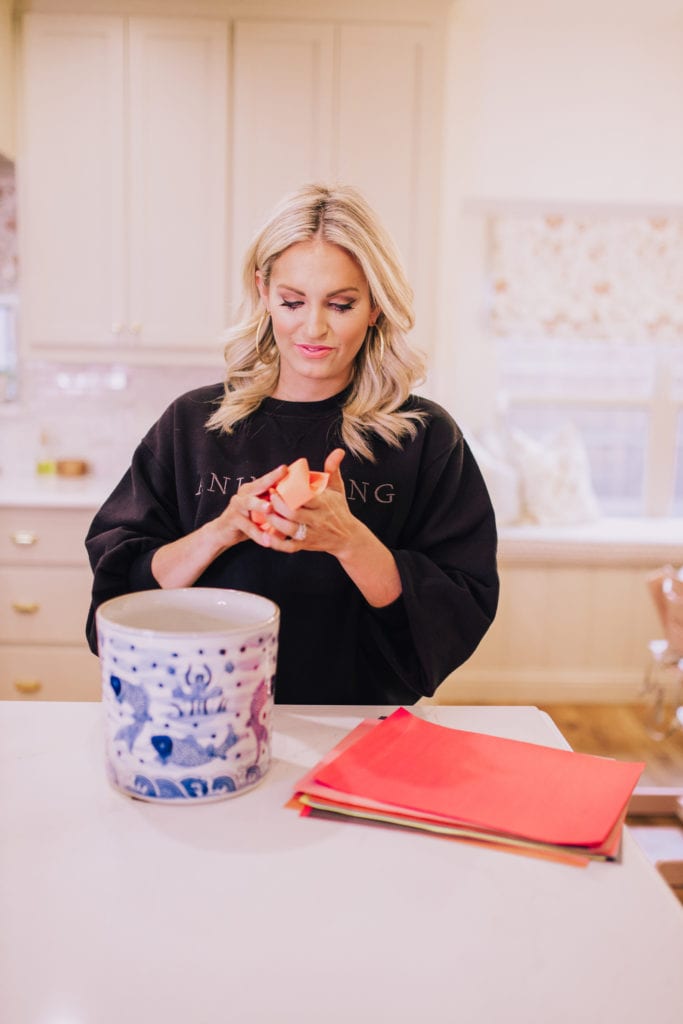
Next, you’ll take your newspaper or other filler, and wad it up to fill the base of the bowl or planter.

As you add in more filler, press down so that the filler will stay in that shape.
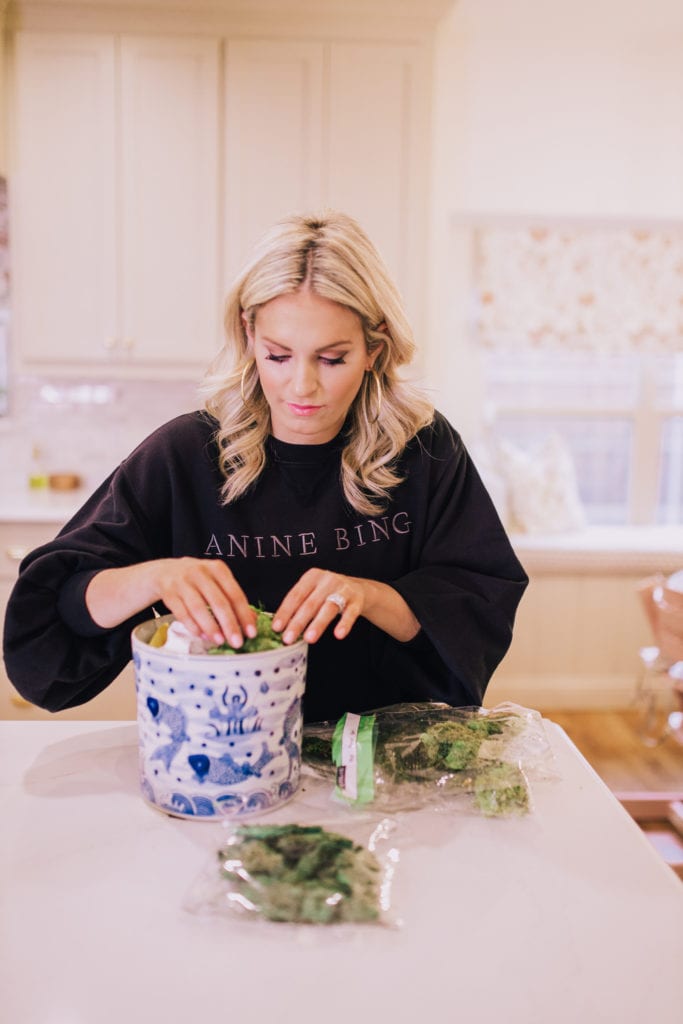
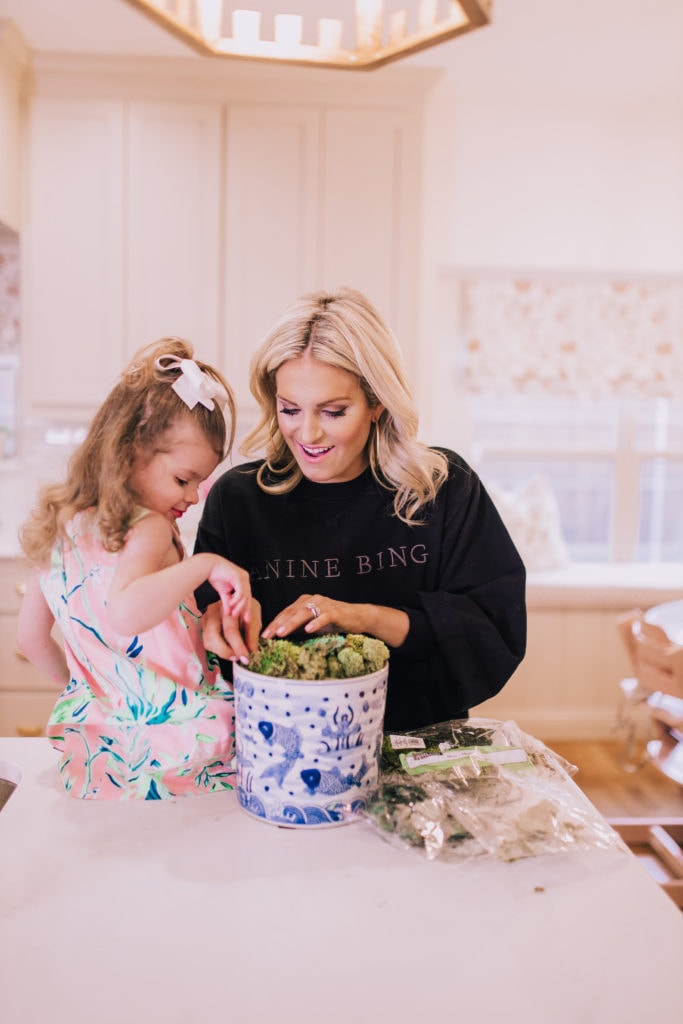
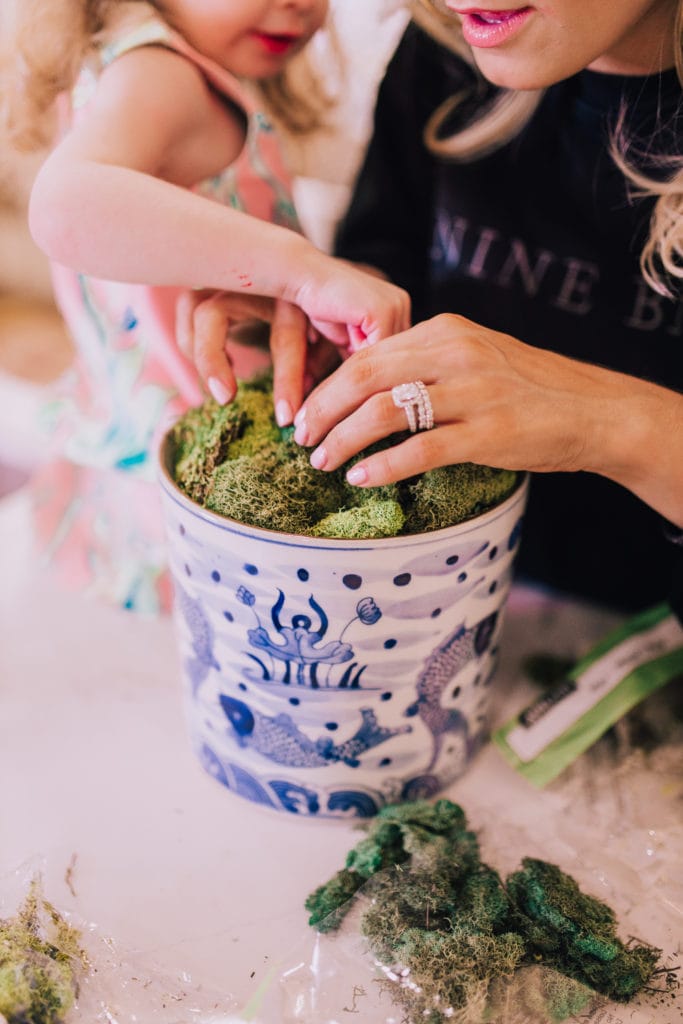
Now comes the fun part! Moss can be messy, so you may want to do this on your back patio, or lay out newspaper to do this on. You can arrange the moss in specific color sections, mix the moss like I do, or do one specific color if your home is more modern. Since I love prints and to mix things, I like the juxtaposition of the chartreuse reindeer moss by the dark green sheet moss. You’ll arrange the moss, then press down to create the garden.
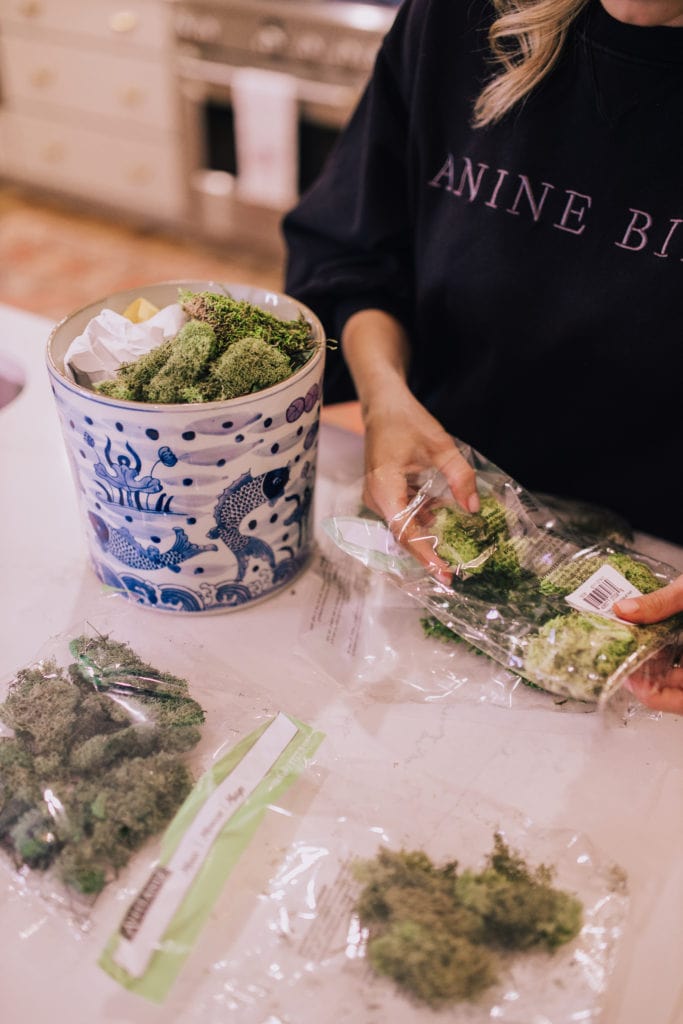
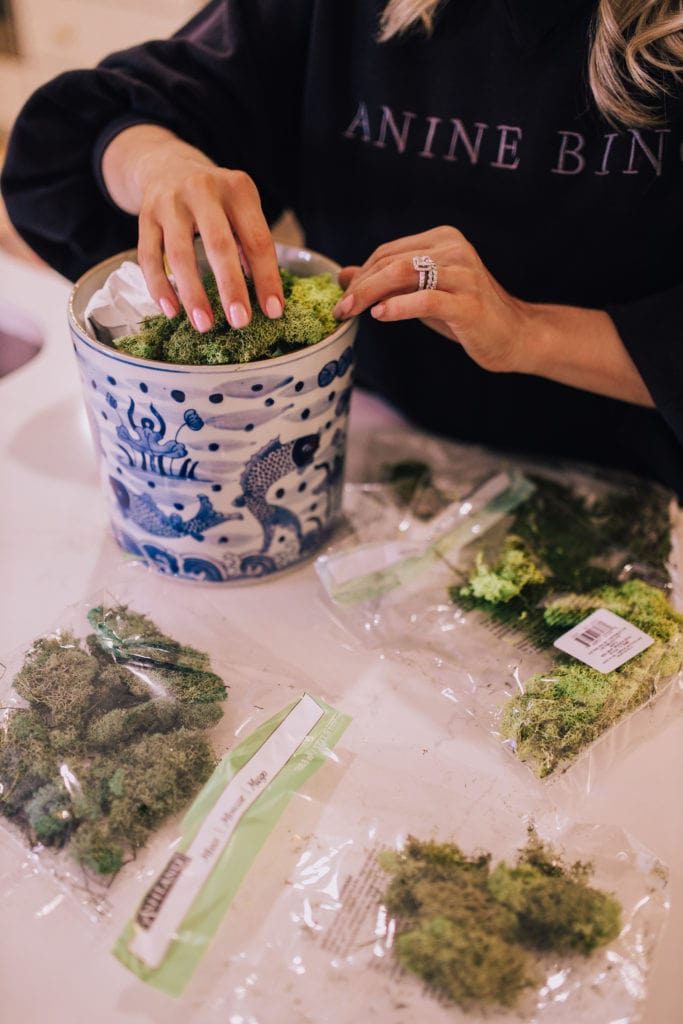
Once you have your moss laid out, you’ll tuck it a bit under the edges of the cachepot or bowl. I’ve had these arrangements sit out for months and the moss won’t move. The nice thing about this is that it isn’t permanent. If you want to rearrange in a few months, you totally can. If you want to use your planter for something else, that’s an option, too.
I can’t keep plants alive all too well, so this planter is the perfect option for me! Let me know if you try this DIY this weekend. What’s your favorite home decor craft to make?


This is so cute! Looks so fun to make too! ❤️✨
Charmaine Ng | Architecture & Lifestyle Blog
http://charmainenyw.com
So cute!