Happy Monday, y’all! I hope you had a wonderful Christmas and feel well rested as you head back to work!
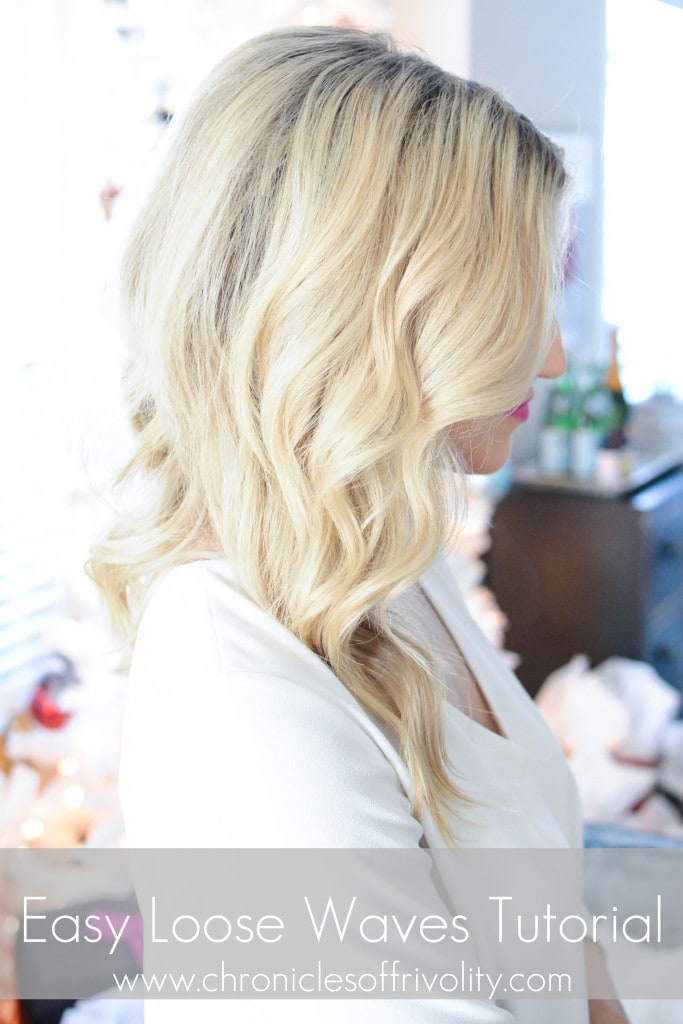
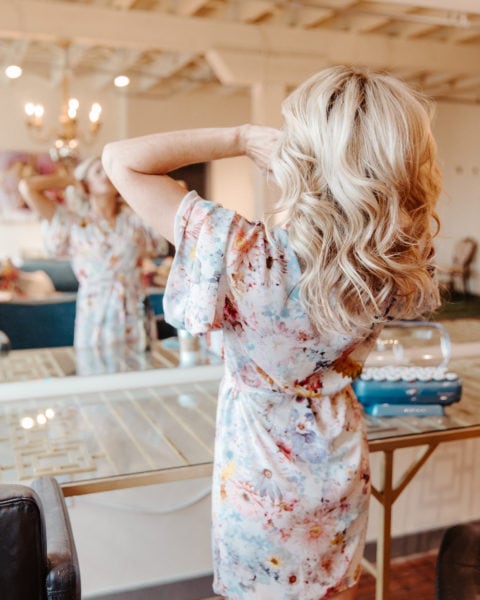
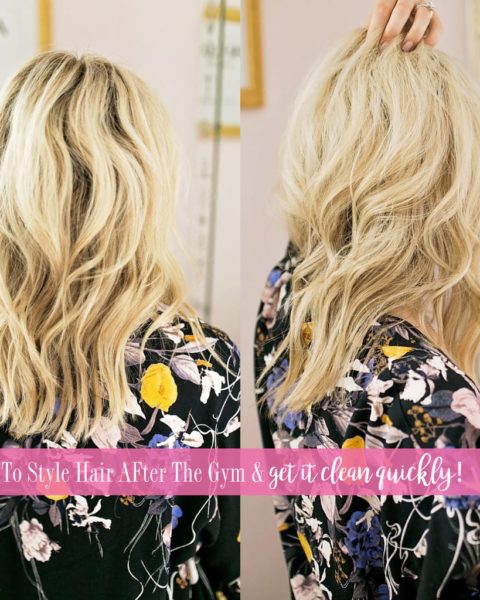
I get lots of questions about the curls I wear daily, and while I always change what I’m doing [sometimes I go bigger, sometimes I have them a bit sloppier] this is the basic technique. I really try to go as long as possible without washing my hair to keep my hair healthy, and this is how I do it this first day. It isn’t weighed down with too [I know that’s totally relative, but I swear this isn’t much in my book! 😉 ] much product and it keeps my hair smooth for whatever styles I want to do the rest of the week.
Step 1. I always like to start any tutorial by sharing what type of hair I have. Tutorials are all based on the texture God gave you, because no matter what I spend my money on I won’t ever wake up with gorgeous tight curls or long, straight locks. I’m definitely somewhere in between! I have fine hair, but lots of it! So much so, that I was always told I had extremely thick hair until I went to a really great salon in Dallas when I got older. I had been using thick hair products but they never worked and that explained why. I have a TON of fine, textured hair. Which means I have to be really careful to not damage my hair and keep it smooth. It also means my hair keeps its style really well. I’ve never struggled with curls falling or hair not staying teased.
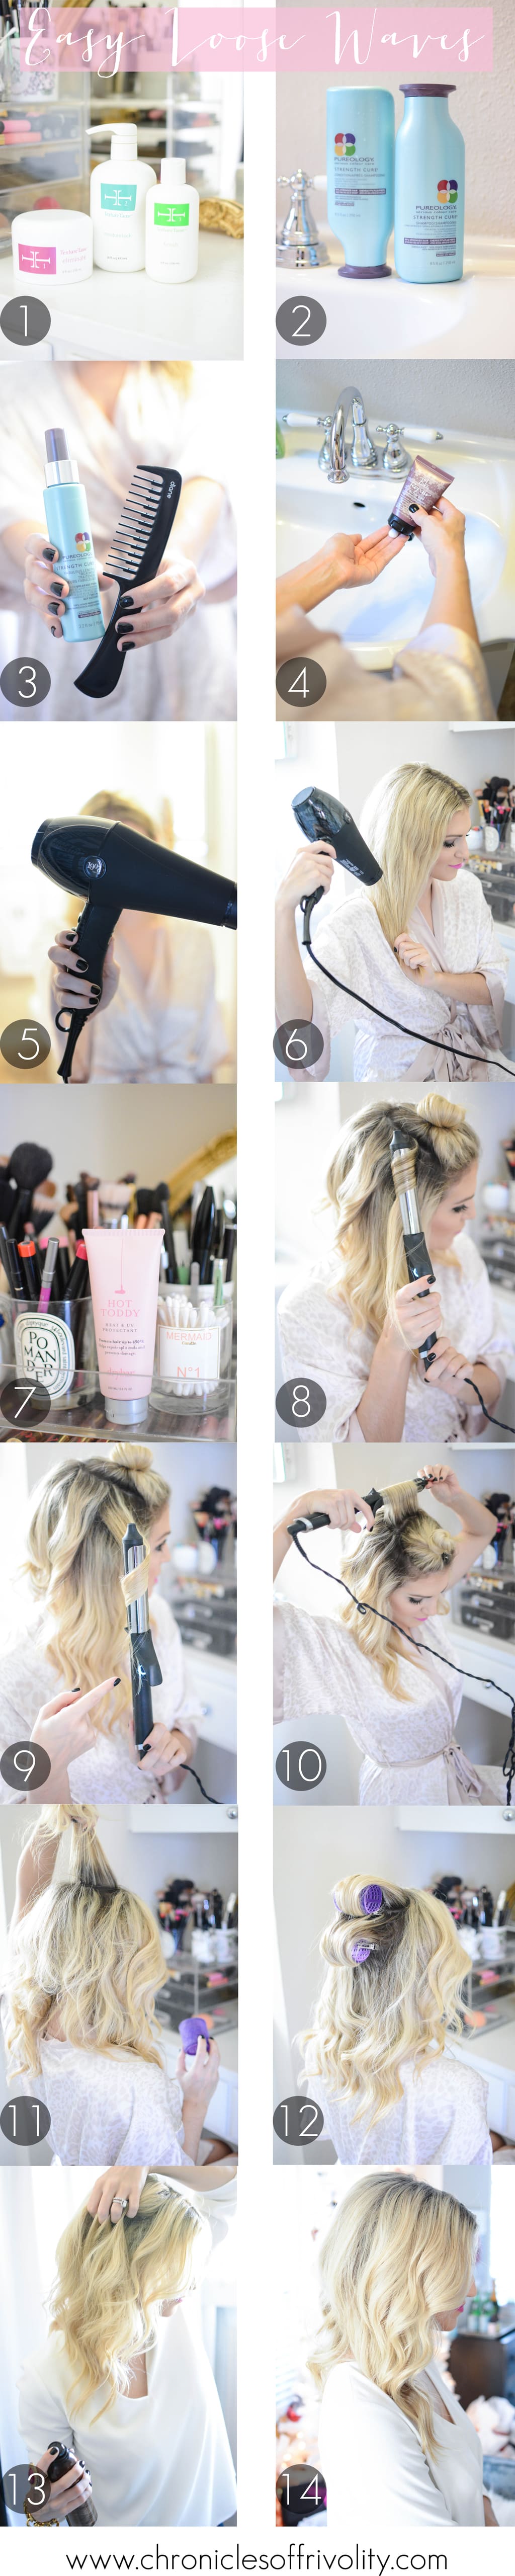
If you have the same texture, chances are you’ve gotten a Keratin Treatment, or if you were an early adaptor a Brazilian Blowout. Brazilian Blowouts are basically formaldehyde on your head and are HORRIBLE for you! Don’t do it! It completely ruins your hair. [I’ve had 4 way back when.] Then I did the Keratin Treatment and that just ruined my hair’s texture. I want smooth, but I don’t want flat. I mean if a bonus of having waves is the fact your hair has volume, why would I give that up?! I found TextureTame randomly online one night and ordered it in 3 seconds. After almost 2 months of using, I can definitely say it is so much better than the Keratin Treatment! You can order here, and it comes in a three step system. One you use every three months [the actual treatment], one once a week to maintain your hair’s strength and softness and one as often as you like, as more of a hair smoother and styler! This keeps your hair frizz free, but doesn’t get rid of your curls, waves or volume you naturally have! It allows me to let my waves dry naturally in a really pretty way, too!
Step 2. After I use the treatment I wash with this Pureology Shampoo and Conditioner. It keeps your hair strong [and I highlight/style daily so I definitely need that!]. I alternate between that and this purple shampoo and conditioner once a week. That keeps my hair from turning brassy. The cardinal sin of all blondes.
Step 3. I comb through Pureology Strength Cure so I can extend my trims! I’m the worst with setting up hair appointments. Because of my autoimmune disorder I can’t get highlights frequently [hence why you always see new growth in my photos!] and so I’m always forgetting to set up appointments. This protects against split ends or any breakage you would get from straightening.
Step 4. When it comes to a heat protectant, I really recommend Bumble and Bumble Repair Blow Dry Cream. It allows your hair to heals split ends WHILE you use the blow dryer, which is an oxymoron in itself. It is also a heat protectant for using your blow dryer. I like to do my makeup in between this and the next step so that my hair air dries a little bit.
Step 5 & 6. Blow dryers are a tool I think that are given little thought, but they play a huge role in the health of your hair as well as how quickly you can get ready in the morning! 😉 I use this 1907 Fromm blow dryer and I’m in love for three reasons:
1. Typically if you blow dry your hair straight out of the shower, you can look kin to Mufasa. But this Fromm Beauty blow dryer has an Ion Generator Switch which defrizzes your hair while you dry it, and keeps it really smooth!
2.It’s lightweight so you don’t feel like you just left a barre class after drying your hair. We all know we skimp out on the last few minutes just because your arm hurts, but this one weighs less than Peaches. haha!
3. It’s really quiet! So I don’t wake Paul up if I get up earlier than he does on the weekend!
Step 7. I use a heat protectant after I blow dry, too! This is just because I want extra protection and this Hot Toddy cream makes my hair incredibly soft right before I curl it. I allow it to set in for about 3 minutes so it all dries and I’m not curling any damp pieces.
Step 8. I pair my hair off into horizontal sections and curl vertically from the root down. I use this GHD Classic 1″ Curling Iron.
Step 9. Gently turn your curling iron as you go down the hair shaft, but be sure to leave about an inch or two out at the bottom. This allows your hair to not look 4 inches shorter just because you curled it, and gives you a more undone, bedhead look.
Step 10. Once I get to the last section of my hair I curl horizontally as opposed to vertically. I just pull the iron to the end of the hair shaft and roll the iron up to the root. I do this at the crown of my head for volume! If I want extra volume I do that with the entire top section and you get a really pretty, Farrah Fawcett look to frame your face. I wanted to keep it simple so I vertically curled the layers that framed my face.
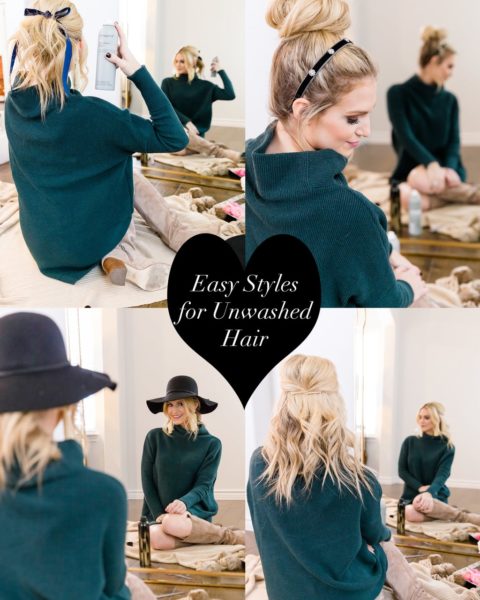
Step 11 & 12. Take two sections at the crown of your head and set them in velcro rollers. I let them set while I put my clothes and jewelry on! I don’t take them out until right before I walk out the door.
Step 13. Set with hair spray and a texturizing spray. In this tutorial I used an empty sample that I didn’t care for, but these are my favorite: here, here.
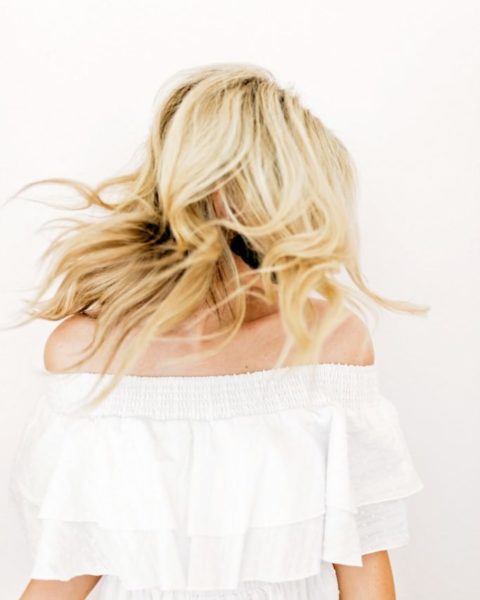
Step 14. After I use hair spray and texturized I run some Light Morocan Oil through the ends of my hair! This step is totally optional, but I like it because it keeps my hair weighed down and smooth, while the top can be voluminous and a bit messy! 🙂
I sleep on these pillow cases so this style lasts up to three days, and then if I go a 4th day I’ll just throw in this dry shampoo and a ponytail!
Thanks so much for stopping by this Monday! I hope you have an easy day and lots of coffee to get you through it! 🙂

What pillowcase do you use? You forgot to link it, and I’ve been looking for a new pillowcase that will work with my skin/hair and not against it 🙂
Thanks!
xo
Kirsten
KirstensModernLife.com
Hi girl! The link has been fixed. 🙂
Beautiful! Thank you for sharing your styling tricks 🙂
xx Kathryn
http://www.chicandshimmer.com
So glad you were able to try out the Fromm Beauty hair dryer!! Miracle Worker! 🙂
StyledByBlondie.com
What dry shampoo do you recommend?
I have similar hair- very fine but lots and lots of it. I have trouble with it breaking very easily, even when I go weeks with wearing it natural. Is this something you deal with? Do you recommend any products to keep your fine hair from breaking and/or to repair already-damaged hair?
Great tutorial! I have to ask about your robe in the pictures–it’s so cute! 🙂
Hey Katey! Can you please tell me a little bit more about the pillowcases? Do you see a difference in your skin and hair?
Hi Katey!
I’m planning on buying a new curling iron and I am having trouble deciding between the ghd and T3 curling irons. I was wondering if you could tell me your experience with the two different types. I have very thick, coarse hair, that isn’t straight or curly. Your hair curled looks a lot like my everyday look I want this new curling iron for, I have seen that you have used both brands. I’m in college so I want to be sure to pick the right one before I spend the money!
Thanks so much!
For thick, coarse hair I would do the T3! The GHD has a really light clamp so it wouldn’t be as great for thick hair! xo