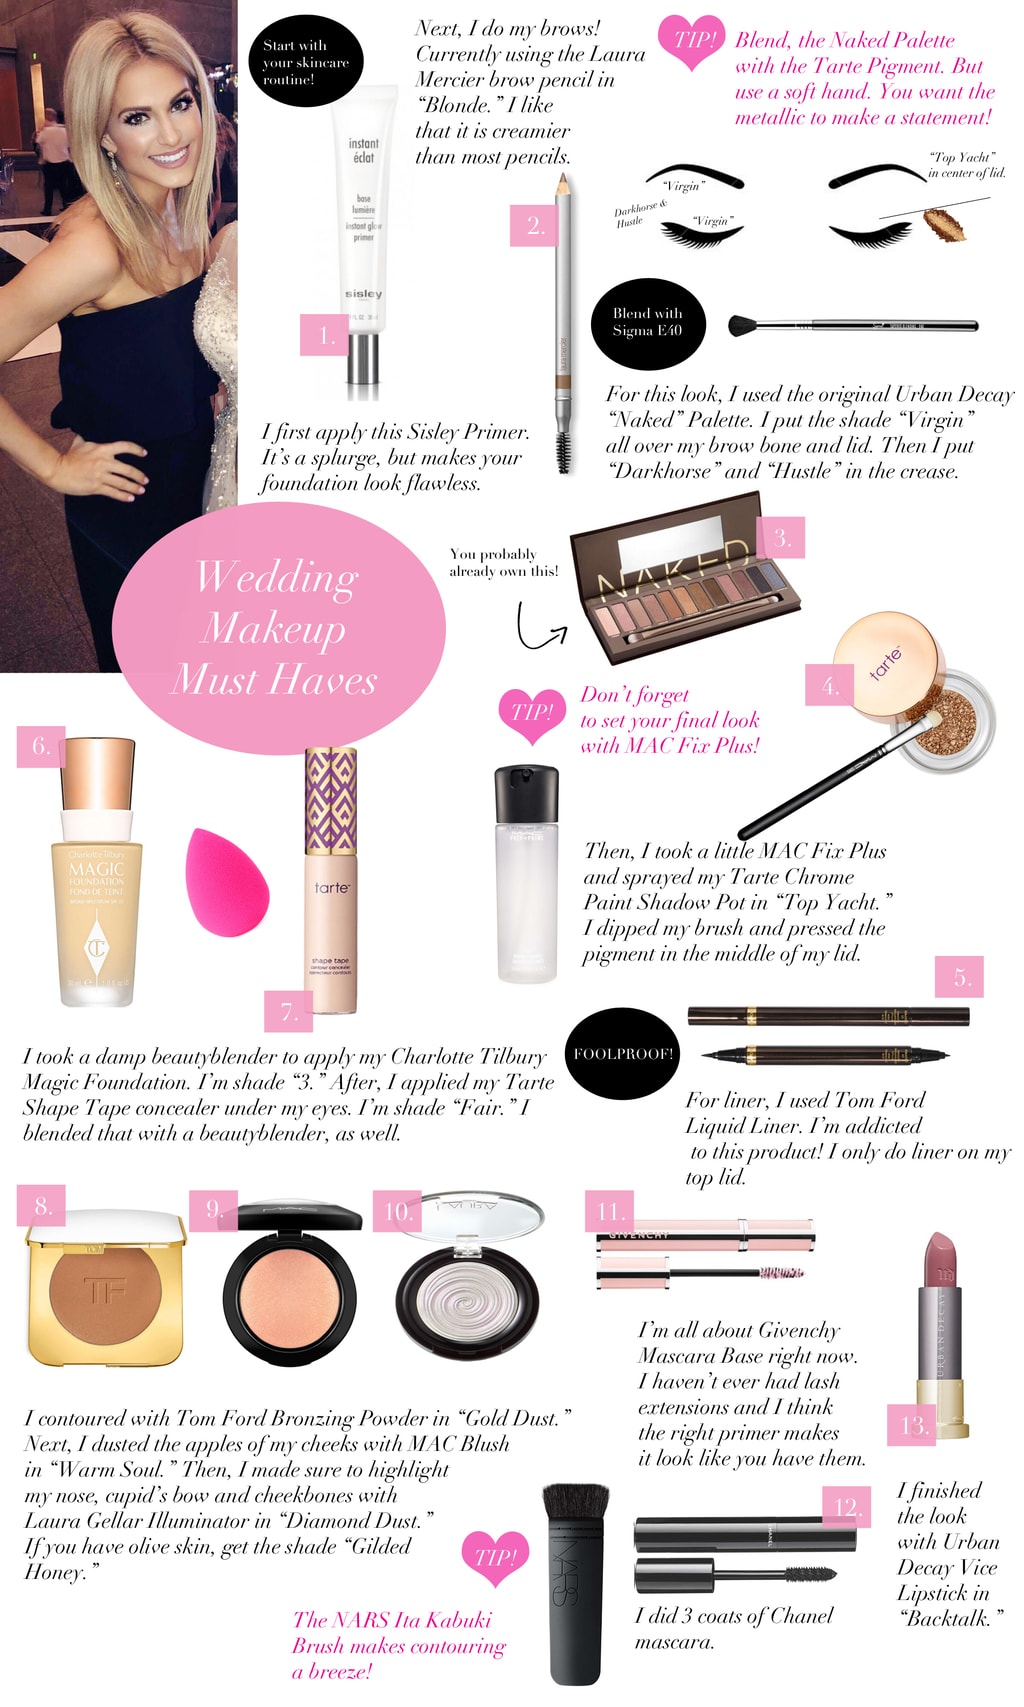

one | two | three | four | five | six | seven | eight | nine | ten | eleven | twelve | thirteen | setting spray | beautyblender | dress [for size reference, I’m wearing a 0]
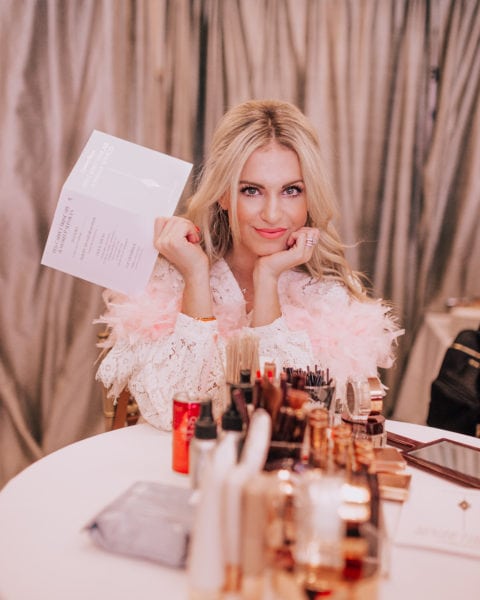
Last weekend I did get to sneak away to celebrate my girlfriend’s wedding! My sister was my date and it was really nice to have one-on-one time with her. I do see her quite often comparatively, but it’s always with other family or she is being a gem helping with Maxi.
We chose to spruce up our makeup looks just a tad bit as this wedding was for our friend that is a makeup artist. Lots of our friends who attended are also makeup artists in the Dallas/Fort Worth area, so we knew we didn’t want to go too simple. 😉 My sister even wore a hot pink lip stain, which is just about the most shocking thing for her. She actually left the lipstick in the purse I let her borrow. The next day I asked if she wanted me to bring it to her and she said, “Um, keep it. I don’t think I’ll wear that again until the next wedding.” ha!
We shared a few photos on Insta stories and I got some requests to spill what I did differently to my makeup! I used a new {to me} lipstick, mascara primer and eyeshadow routine! It really didn’t take too much time at all so it’s something you could recreate with items you have on the weekend.
For my dress, I went with this Likely number from Shopbop. I received some e-mails asking about sizing, and I think it runs a little large, but not overly so. If you’re in between sizes, size down as I did as well. And y’all better believe I did my self tanning routine before. I used the regular St. Tropez Tanner and these face wipes. Don’t forget to scrub with sugar before! Do not forget, ladies! Makes a world of difference.
Now for lashes, I didn’t use falsies. I’ve completely forgot how to. I used to be great [could have been a pro] at applying them back in my competitive dance days, but I tried to apply some and looked like a fool. And don’t even get me started on the “use your tweezers” method. I am not getting my tweezers close to my eye. I am not! However, I use this serum nightly [use this if you want something more natural!] and believe my lash primer is some powerful stuff. I apply a coat, let it dry for a minute then did 3 coats of my Chanel mascara.
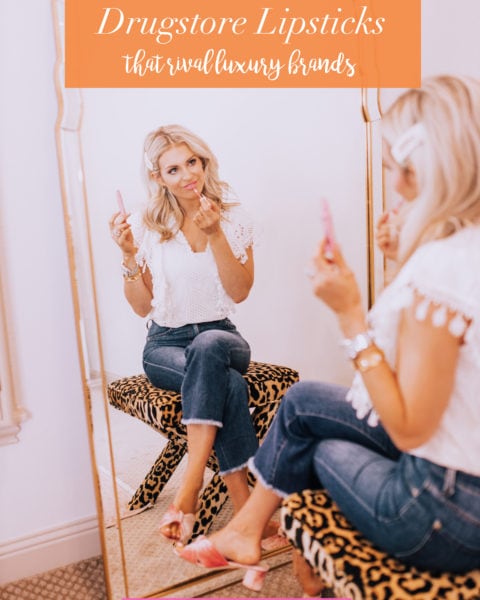
The lipstick I used is Urban Decay Vice Lipstick in the shade “Backtalk.” It’s a moisturizing matte lipstick, so if you’re very opposed to liquid lipstick this is a great alternative. I started the night [when I got ready at 4] with MAC Plum Liner, but I reapplied without liner and didn’t see too much of a difference. This lipstick is definitely pigmented enough you could do without. Don’t forget this is what I use to whiten my teeth!
I made the graphic above so you can save to your phone [like my skincare routine] while you do your makeup, but here are the steps below!
- Start with your skincare routine for morning, but make sure to self tan face the evening before. I used these wipes.
- Then, I applied my Sisley Instant Eclat Instant Glow Primer. Okay, it’s expensive. I’m talking, #TreatYourselfForYourBirthday price. But it’s gold. It makes your skin glow, but most importantly, the way it mixes with your foundation gives this phenomenal texture and coverage. I normally return primers because I can’t tell a whopping bit of a difference enough to keep it, but this I want to stockpile. Except I don’t because you know, the price. A little goes a long ways with this!
- I’m currently using the Laura Mercier Eye Brow Pencil in “Blonde.” I really love this pencil because it’s creamy. Dry eyebrow pencils confuse me. Am I supposed to press hard enough to rip hairs off?! You can simply give light strokes and you’re good to go!
- This is where my routine changed a bit! I received the original Naked Palette by Urban Decay in a press kit and wanted to dig in after not owning it for a few years. I remember my best friend {and roomie} in college, Emily, had this palette. I did not see the point in purchasing when she had it, and so finally she was like, “Do you just want me to give this to you?!” I was very subtle…Anyways, I took the shade “Virgin” and applied it all over my brow bone and lid. Then I used the shade “Darkhorse” and “Hustle” in the crease. Make a “V” from your lash line to crease to deepen the look.
- Next, I used my Tarte Chrome Paint Shadow Pot in the shade “Top Yacht.” I recently purchased this item and it’s not a daily item by any means. It’s got a very metallic finish, but it is so fun! The trick is to spray a bit of MAC Fix Plus {or setting spray of your choice} on the product, then dip your brush and lightly press in the center of the lid. The setting spray is going to allow this textured product to blend in with your look and not flake.
- Blending is a bit tricky here! I used a Sigma E40 to blend my crease with the “Virgin” shade on my lid. However, you don’t want to blend the entire thing together because that’s going to look like a child finger painting mixing all their colors. Softly blend the crease into the Tarte pigment, but allow the pigment to stay its own shade and in its own section. Does that make sense?! You could easily blend the entire thing together and create a muddy color, but you just want the metallic to be a flirty accent when you shut your eyes.
- Then, do your liner! I am using the Tom Ford Liquid Liner daily as thanks to you all. You all gave me this fabulous [and expensive] recommendation. I’m really not a liquid liner fan. Not even in the slightest. It always looks “wet” to me and this is not! It’s incredibly easy to apply. I just do my top lid.
- After liner, dampen your beautyblender. Run the water and place your sponge under the faucet for a good 10-15 seconds. Then, take a clean towel and squeeze out the excess water. Because the beautyblender gets full, it doesn’t allow the sponge to absorb your foundation. Apply one pump of Charlotte Tilbury Magic Foundation {I’m shade 3!} and blend all over your face.
- Next, I apply my Tarte Shape Tape Concealer {I’m shade Fair} in a “V” under your eyes. I blend that in with my dampened beautyblender.
- Now, we contour! I have a tutorial here if you are unsure of where to apply contour vs. blush vs. highlight. I contoured with Tom Ford Bronzing Powder in “Gold Dust” and took MAC Blush in “Warm Soul” to the apples of my cheeks. For contouring, you want to invest in the NARS Ita Kabuki brush as it basically draws the line for you. Without it, I am a lost contour soul. However, if you like a really soft contoured look, go with the Sigma F23. For my highlight, I used the Laura Gellar Illuminator in “Diamond Dust.” If you have olive undertones get the “Gilded Honey” shade. It’s to die for!
- For lashes, I started with my Givenchy Mascara Base. Apply it like regular mascara, then let dry for one minute. Next, I did 3 coats of Le Volume De Chanel Mascara.
- Finally, for my lipstick I went with Urban Decay Vice Lipstick in “Backtalk.” You can use a lipliner if you want, and my recommendations would be MAC “Plum“ or MAC “Soar.“ But you can skip it if that’s not your thing! Also, take a second to spray your entire face with MAC Fix Plus or whatever setting spray you love.
Do you have any go-to beauty tricks for weddings?!

Amazing products! I’m definitely no makeup expert so these will help a lot in the future. 🙂
Charmaine Ng | Architecture & Lifestyle Blog
http://charmainenyw.com
Can you post the link for your teeth whitening product? Thank you!!
Hi Ashley! So sorry! I’m having some linking issues. I’ll definitely get it fixed, but in the mean time the product is linked in my skincare routine post linked in the beginning of the post. So sorry about that! Xo
LOVE these recommendations!! I’ve been noticing my skin looks a little dull with just my Double Wear foundation and was looking for a new illuminating primer or second foundation to mix-in! I’m getting married in June and these ideas will be great for the showers and dinners leading up!
Katey, would you ever consider doing a video tutorial on this? I find that it makes a world of difference if I can actually see the application. You look GORGE!
Hi Catie!
Thank you so much for reading! You’re so sweet! Video definitely scares me as I just don’t really feel like it is my thing. Haha. But with that being say, I do believe in never say never! Thanks for the push to try! 😉
Xo
Ditto would love to see a video! Your makeup looks amazing!
Hi Katey, do you prefer this Sisley primer over the other that you have shared? If so, why?
Hi Brittny! So hard to say! Currently, this is without a doubt my favorite primer, but I do enjoy other ones as well just dependent upon what I need for my skin. Right now I am trying to get my skin to glow and not look dull so this is my favorite for that. But if I have a blemish, I prefer more matte primers [Ulta brand has a great one!] or if I have texture issues I love the YSL primer in the clear tube!
xo,
Katey
Your makeup looked amazing at the wedding! And that lipstick was so beautiful on your sister!
Love Love all these tips! I really want to try that bronzer. Thank you for the fun post to read. ????
LOVED your makeup for that wedding! <3
BlondieintheCity.com